Common water leaks in cars
8 Common Car Water Leaks That Lead to Mold
By Car Mold Guys | Car Water Leaks & Mold Prevention
If your car smells musty, your carpet feels damp, or you notice condensation forming on the inside of your windows, there is a good chance you have a water leak — and where there is a water leak in a car, mold is never far behind. Mold needs three things to grow: organic material such as carpet, seat foam, or headliner fabric; warmth; and moisture. Your car's interior provides all three in abundance.
What most vehicle owners do not realize is that the moisture problem almost always starts long before mold becomes visible or smellable — and by the time you notice it, the colony is already established and growing into materials that cannot be surface-cleaned. Knowing where car water leaks typically originate is one of the most important things you can do to protect your vehicle and the health of everyone who rides in it.
Why Finding the Leak First Is Non-Negotiable
Mold remediation without first identifying and repairing the water source is a temporary fix at best. The mold will return — reliably, and often within weeks — because the conditions that created it have not changed. Every professional car mold remediation Car Mold Guys performs begins with a moisture investigation. We use thermal imaging cameras and calibrated moisture meters to locate hidden water intrusion that visual inspections and even hands-on probing routinely miss entirely.
The 8 Most Common Car Water Leak Sources
Bonus Leak Source: Clogged AC Condensate Drain
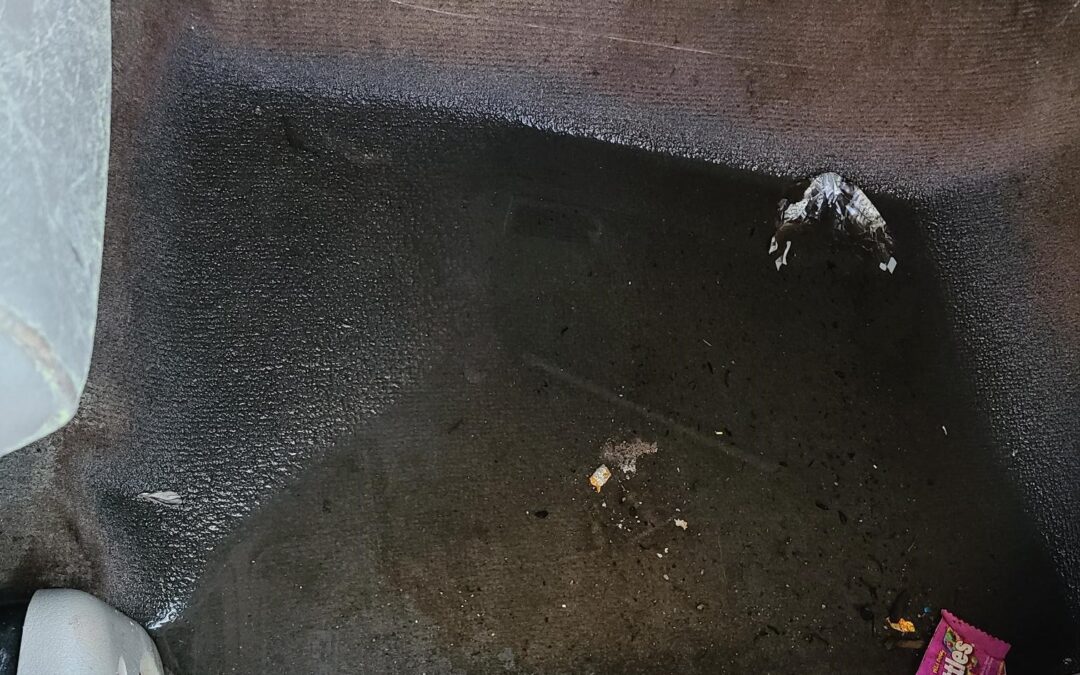
One of the most commonly overlooked moisture sources deserves its own mention. Your vehicle's air conditioning system produces condensation on the evaporator coil — and that condensation is normally routed outside via a small drain tube beneath the dashboard. When that tube clogs with debris or biological growth, condensation backs up and soaks the passenger-side floor carpet directly beneath the dashboard — often for weeks before anyone notices. See our full post on clogged AC condensate drains for symptoms, diagnosis, and repair.
What to Do If You Suspect a Leak or Mold
Step 1
Find and fix the water source first. Mold remediation without addressing the leak is a waste of money — the mold will always return.
Step 2
Do not rely on air fresheners or ozone treatment alone. These are temporary at best. Ozone without physical remediation leaves the underlying colony intact and health hazards unchanged.
Step 3
Get a professional moisture inspection. Thermal imaging cameras and calibrated moisture meters locate hidden water intrusion that visual inspections routinely miss.
Step 4
Remediate properly using ANSI/IICRC S520-2024 protocol — HEPA vacuuming, antimicrobial treatment, chlorine dioxide gas, HVAC purge, encapsulation, and air quality verification.
Frequently Asked Questions
How do I know if my car has a water leak?
Common indicators include damp or wet carpet that cannot be explained by rain tracking in on shoes, a musty odor that intensifies when the AC first turns on, condensation forming on the inside of windows, visible water staining on headliner fabric or carpet, and wet spots in the trunk or spare tire well. Any of these warrants a professional moisture inspection before mold is given time to establish.
Can a car water leak cause mold in just a few days?
Yes — under warm, humid conditions, mold can begin germinating within 24 to 48 hours of moisture intrusion. In the Southeast's summer climate, a single heavy rain event through a failed seal or clogged drain can initiate a mold colony before the carpet even dries on the surface. See our mold growth timeline in wet cars for a detailed breakdown.
Should I fix the water leak myself or hire a professional?
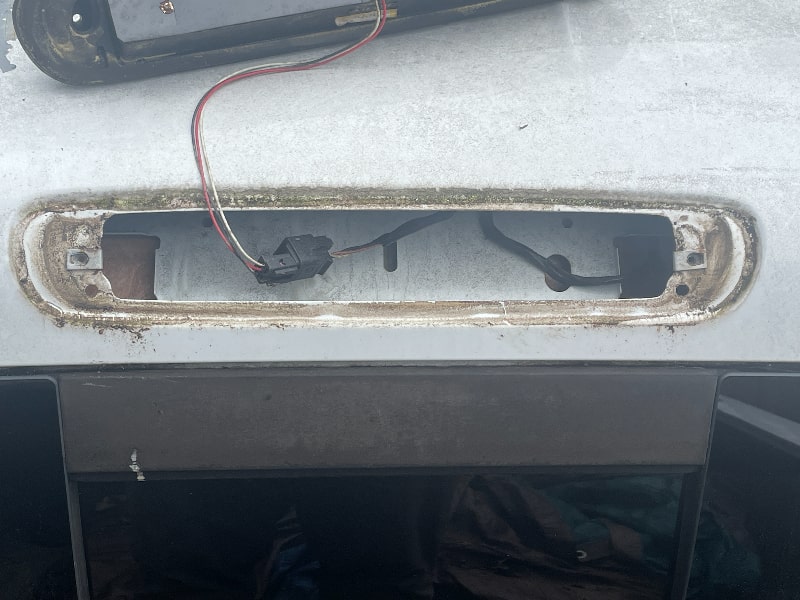
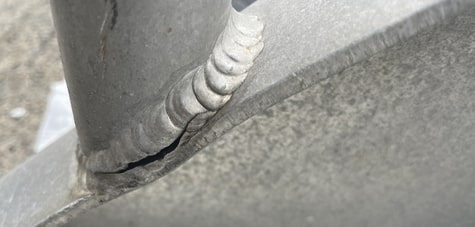
Some leaks — such as cleaning sunroof drains or replacing a tail light gasket — are straightforward DIY repairs. Others, like broken welds from accident damage or failed windshield seals, require professional diagnosis and repair. For any leak that has been present long enough to produce a musty odor or visible dampness, a professional moisture inspection is the right first step regardless of what caused the leak.
What should I do immediately after water gets into my car?
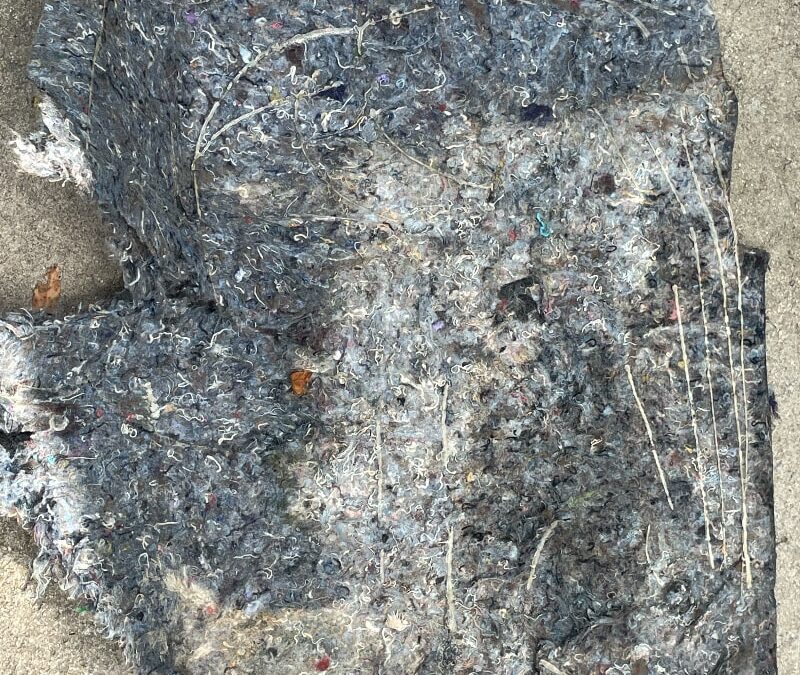
Speed is critical. The EPA's mold cleanup guidance is clear: drying water-damaged materials within 24 to 48 hours is the key to preventing mold establishment. Extract as much water as possible with a wet/dry vacuum, leave doors open in dry conditions to ventilate, and use fans to accelerate drying — but do not close the vehicle until all materials feel completely dry. If the floor padding beneath the carpet was soaked, it almost certainly needs to be removed to dry properly. Our post on best practices for drying out a wet car covers every step in detail.
Related Reading
- Sunroof Water Leaks
- Car Water Leaks: Clogged AC Condensate Drains
- Car Door Vapor Barrier Water Leaks
- How to Identify and Fix Car Door Rubber Seal Leaks
- Car Water Leaks: The Problem with Faulty Windshields
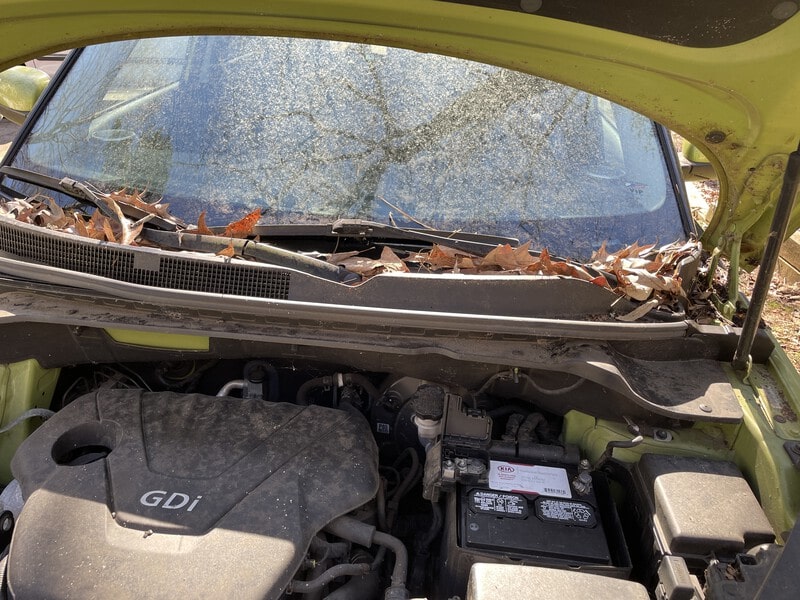
- What Causes Cowl Water Leaks?
- Understanding and Fixing Trunk Vent Leaks
- How to Detect and Fix Car Tail Light Leaks
- Car Water Leaks: The Hidden Impact of Broken Welds from Accidents
- Best Practices for Drying Out a Wet Car
- Mold Growth Timeline in Wet Cars
- The Dangers of Car Mold and Why It Must Be Taken Seriously
FOUND A LEAK? DON'T WAIT FOR THE MOLD TO FOLLOW.
Car Mold Guys locates the moisture source, fixes or coordinates the repair, and remediates any resulting mold contamination — all in one professional mobile service throughout Georgia and the Southeast. Thermal imaging. Chlorine dioxide treatment. HVAC purge. 90-day warranty.


