Ways to Improve the Interior Air Quality of Your Vehicle
Practical steps every driver should know — and one problem that needs more than good habits
2–5×
More polluted than outside air — what the interior of your car can become without proper maintenance
12–15K
Miles — the recommended cabin air filter replacement interval most drivers ignore
24–48
Hours for mold to begin colonizing a wet car interior once moisture takes hold
If you've ever climbed into your car on a hot morning and been hit with a wall of stale, musty air, you already know that vehicle interior air quality isn't something to dismiss. What you may not realize is that the air inside your car can be significantly more polluted than the air outside — sometimes by a factor of two to five. Dust, allergens, bacteria, mold spores, and volatile organic compounds build up over time in a sealed cabin, affecting your health, your comfort, and your ability to focus behind the wheel.
Most of these problems are preventable — and fixable. Whether you're dealing with a persistent musty smell, allergy flare-ups during your commute, or something more serious like visible mold growth, this guide covers the practical steps that make a genuine difference, and draws a clear line between what you can handle yourself and when professional remediation is the only real answer.
WHY VEHICLE AIR QUALITY DESERVES SERIOUS ATTENTION
The average American spends over 50 minutes per day in a vehicle. Unlike a home or office, a car cabin has very limited air volume — roughly 100 cubic feet — which means contaminants concentrate rapidly. Your HVAC system recirculates that same air continuously, and when the windows are up, there is no dilution from outside.
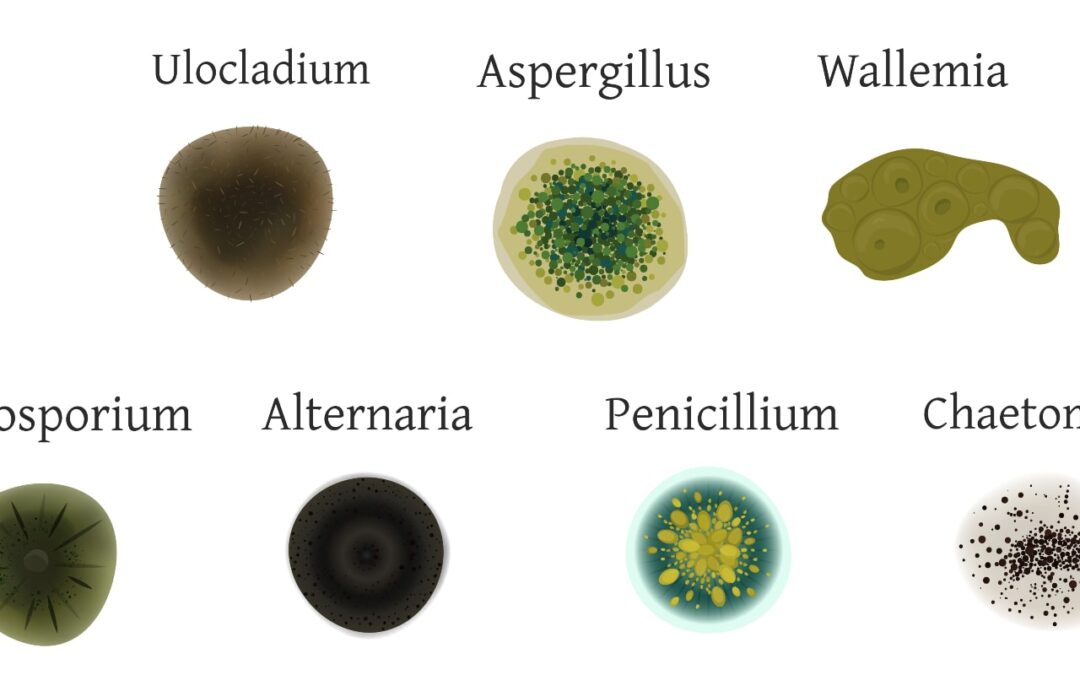
Dust mites, pollen, mold spores, bacteria, carbon dioxide, and off-gassing chemicals from interior plastics and adhesives all accumulate without deliberate maintenance. The good news is that a combination of consistent habits and the right interventions can keep your cabin air genuinely clean — not just odor-masked.
Nine Ways to Improve Your Vehicle's Interior Air Quality
1. Start With a Thorough Deep Clean
You cannot filter your way out of a dirty interior. Before any device or product makes a meaningful difference, the physical contamination must be addressed first.
Vacuum every surface systematically. Dust mites, pet dander, pollen, and mold spores accumulate in carpet fibers, seat cushions, and floor mats. Use a vacuum with crevice and upholstery attachments to reach under seat rails, into door pockets, and along headliner edges. The EPA recommends regular vacuuming as a frontline defense against airborne particulates — and that principle applies directly to vehicle interiors.
Disinfect high-contact surfaces weekly. Steering wheels, gear shifters, door handles, and center console touchpoints harbor bacteria that contribute to poor cabin air. A quality interior disinfectant wipe on these surfaces takes two minutes and makes a measurable difference.
Don't overlook the trunk. Damp sporting gear, forgotten groceries, and wet gym bags stored in an enclosed trunk create moisture reservoirs that promote mold growth — which then circulates through your ventilation system into the main cabin.
2. Replace Your Cabin Air Filter — This One Is Non-Negotiable
Your cabin air filter is the single most impactful mechanical component for vehicle interior air quality — and one of the most neglected maintenance items on the entire car. This filter traps dust, pollen, smog particles, bacteria, and mold spores before they enter your cabin through the HVAC system. When it becomes clogged — typically around every 12,000 to 15,000 miles — it stops doing its job entirely and can itself become a breeding environment for the contaminants it was meant to block.
Replacement is typically a straightforward job under 15 minutes. Check your owner's manual for location and interval, or have it inspected at your next oil change. For drivers with allergies or asthma, upgrading to a high-rated particulate filter offers meaningfully better capture of fine particles, pollen, and spores.
ALERT: A clogged cabin air filter does not just reduce filtration — it can become a spore and bacteria reservoir that actively degrades your cabin air every time the HVAC runs. If yours has never been replaced, check it today.
3. Address Mold and Musty Odors — This One Is in a Different Category
Every other item on this list is a maintenance habit. This one is a health issue — and it requires an entirely different response.
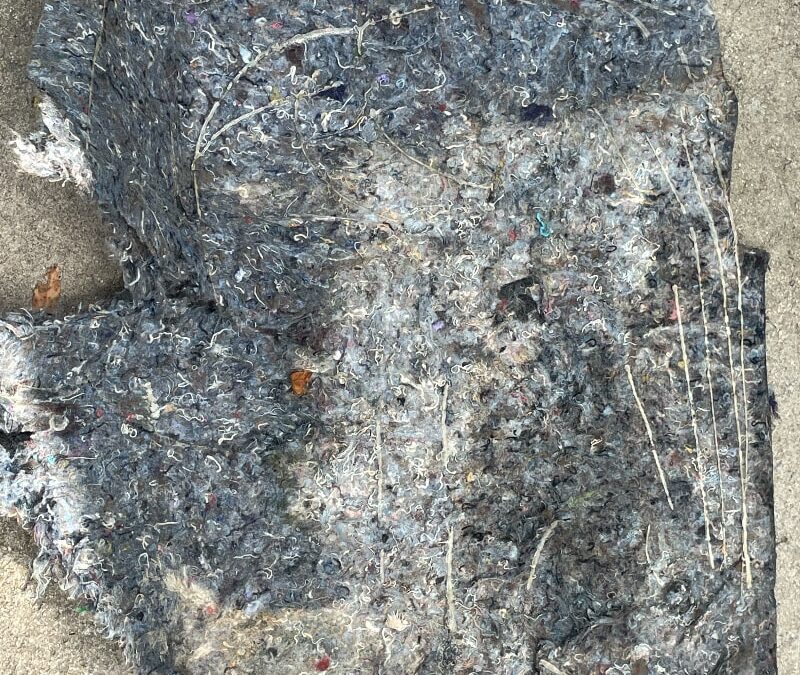
That musty, earthy smell from your air vents is not just unpleasant. It is a reliable indicator that mold or mildew is actively growing somewhere in your vehicle's interior. In the Southeast — where Georgia's heat and humidity create near-ideal conditions for mold — this problem is significantly more common than most drivers realize. Mold takes hold inside HVAC evaporator cores, under seats, and beneath carpeting where moisture collects and cannot escape.
Common moisture sources that lead to car mold:
- Water intrusion through a faulty door or window seal
- Clogged or blocked sunroof drains
- AC evaporator condensate dripping into the cabin from a clogged condensate drain
- Flooding or water damage from heavy rain
- Wet floor mats left in place over extended periods
- Damp gym bags, towels, or sports equipment stored in the cabin regularly
⚠️ WHY SURFACE CLEANING IS NOT ENOUGH FOR CAR MOLD
Mold exposure in a sealed environment like a vehicle cabin causes headaches, fatigue, sinus congestion, eye irritation, and respiratory problems — particularly for anyone with mold sensitivities or immune vulnerabilities. See our full breakdown of mold exposure symptoms and what patterns to watch for.
If you are dealing with visible mold growth, a musty odor that returns after cleaning, or health symptoms that improve when you exit the vehicle, professional auto mold remediation is the correct response — not a spray, not an air freshener, not a detailer. Surface wiping cannot reach mold embedded in carpet padding, seat foam, or HVAC components. Understanding the difference between a real remediator and a detailing mold pretender could protect your health and save you from repeated failed treatments.
REALITY: Mold in a car is not a cleaning problem. It is a remediation problem. The biology is identical to mold in a water-damaged home — and it requires the same professional discipline to address correctly. You would not hire a house cleaner to make your moldy home safe. The same logic applies to your vehicle.
4. Use a Car Air Purifier With True HEPA Filtration
Portable car air purifiers have become a genuinely effective tool for cabin air quality — particularly for allergy sufferers, asthma patients, and anyone who commutes in high-traffic areas. The key is choosing the right type.
Look for units that combine a true HEPA filter (not "HEPA-type" — those are marketing terms, not performance standards) with an activated carbon layer. True HEPA captures 99.97% of particles 0.3 microns or larger, including mold spores, pollen, and bacteria. The activated carbon layer handles chemical odors, VOCs, and smoke that HEPA alone cannot address. Compact designs that fit in a cup holder or clip to a vent are practical for daily use.
Ionizers are an alternative that charge airborne particles so they adhere to surfaces rather than staying suspended — but they can produce trace amounts of ozone, which may aggravate sensitive airways. If considering one, look for a unit that is California Air Resources Board (CARB) certified for ozone safety.
5. Maintain Your HVAC System Proactively
Your heating, ventilation, and air conditioning system does far more than regulate cabin temperature — it controls airflow throughout the entire interior. When it is dirty or malfunctioning, it becomes a direct pathway for contaminants to reach every occupant, continuously.
- Run the AC on fresh air mode (not recirculation) periodically to flush the system and introduce clean outside air
- If you notice a musty smell the moment you turn on the AC, the evaporator core likely has mold growth — have it professionally inspected rather than masking the odor
- Apply a purpose-built HVAC disinfectant cleaner spray through the air intake annually
- For the last two to three minutes of each drive, turn the AC off but leave the fan running — this dries out the evaporator coil and significantly reduces the mold-friendly moisture that otherwise accumulates there
For vehicles with an existing mold problem in the HVAC system, consumer spray products are not sufficient. Car Mold Guys uses proprietary tooling to purge and treat duct interiors — a step that most remediation providers skip entirely and that no spray can replicate.
6. Ventilate Smarter — Fresh Air Costs Nothing
Running your car on recirculation mode for extended periods traps carbon dioxide, odors, and airborne particles inside the cabin. While recirculation has legitimate uses — blocking diesel exhaust in heavy traffic, for instance — it should be a deliberate choice rather than your default setting.
Switching to fresh air mode on the highway, cracking windows slightly when parked in a safe area to release trapped moisture, and giving your cabin a full air flush at the start of each drive costs nothing and makes a measurable difference in accumulated contaminant levels over time. The American Lung Association recommends keeping windows cracked in low-pollution areas specifically to reduce in-cabin concentrations of recirculated pollutants.
7. Eliminate Odors at the Source, Not the Surface
Air fresheners and deodorizing sprays are the automotive equivalent of a scented candle in a room with a water leak. They cover symptoms. They never fix the problem — and many common products contain phthalates and VOCs that are themselves indoor air pollutants, adding to the contamination they were meant to mask.
If your car has a persistent odor, identify the source before reaching for anything:
ODOR DIAGNOSIS GUIDE
Sour or rotten smell
Food waste, spills absorbed into carpet backing or seat foam — requires extraction, not surface wiping.
Chemical or sweet smell
Potential coolant leak into the HVAC system — have a mechanic inspect immediately, do not ignore.
Dirty sock smell from vents
Evaporator mold — extremely common in humid climates. Requires HVAC decontamination, not air freshener.
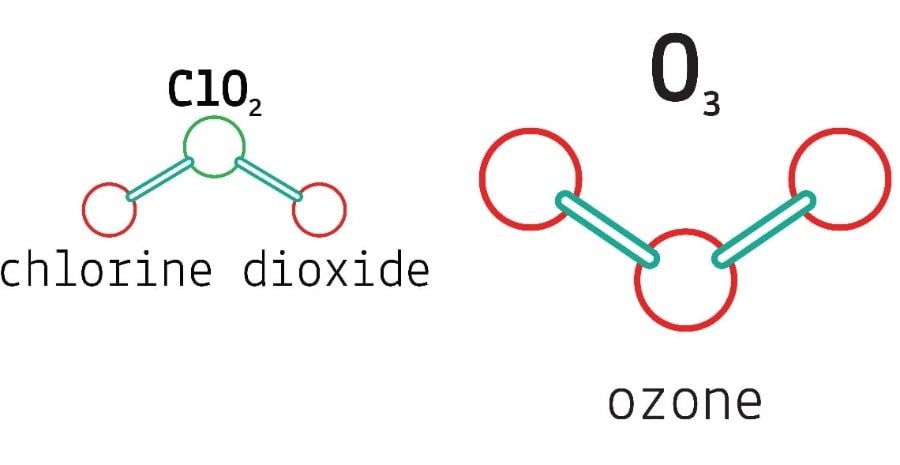
For genuine odor neutralization, activated charcoal bags are effective, non-toxic, and reusable. Baking soda applied to carpet and vacuumed after 30 minutes handles mild food odors. For mold-sourced odors, professional-grade chlorine dioxide treatment is the only intervention that neutralizes the odor at its molecular source rather than masking it.
8. Control Moisture — The Root Cause of Most Serious Air Quality Problems
Almost every serious vehicle interior air quality problem — mold growth, persistent musty odors, allergen accumulation, and HVAC contamination — traces back to a single factor: moisture that has nowhere to go.
- Remove wet items from the vehicle immediately — damp towels, umbrellas, gym gear, and sports equipment should never be left in a closed car
- Inspect door seals, sunroof drains, and weatherstripping regularly for signs of water intrusion — learn the most common water leak sources in vehicles
- If carpets feel damp or windows fog excessively from the inside, investigate immediately — these are signs of active water intrusion, not condensation
- After washing or detailing, leave windows cracked in a safe area to allow residual moisture to escape rather than trapping it in the cabin
Moisture control is the single most powerful preventive measure available — because without moisture, mold cannot establish itself regardless of what else is present in the cabin.
9. Park and Drive Smarter to Limit Pollutant Entry
Where and how you park directly affects what contaminants build up inside your vehicle.
- Avoid idling in enclosed spaces. Carbon monoxide accumulates rapidly in garages and parking structures, even with a brief idle — open doors or pull forward before running the engine.
- Keep windows up near heavy traffic. Exhaust particulates and ground-level ozone peak near busy intersections and highways — use recirculation mode strategically in these zones.
- Park in shade when possible. Heat dramatically accelerates off-gassing of VOCs from interior plastics, adhesives, and upholstery — the "new car smell" is a cocktail of chemical compounds that diminishes with ventilation and time, not with air freshener.
When Maintenance Is Not Enough — Knowing When to Call a Professional
Consistent habits and quality filtration will handle the vast majority of vehicle air quality concerns. But certain conditions are beyond the reach of maintenance — and waiting makes them substantially worse.
Call Car Mold Guys If You Are Experiencing Any of These
- Visible mold growth — black, green, white, or gray — anywhere in the interior
- A musty odor that returns within days of cleaning or treatment
- Physical symptoms — sneezing, itchy eyes, fatigue, or headaches — that consistently improve when you leave the car
- Known water damage, flooding, or a confirmed leak that has been present for more than 24 to 48 hours
- A previous mold treatment that did not hold — the problem came back
REALITY: Car Mold Guys is the only company in the country dedicated exclusively to professional vehicle mold remediation. We identify the moisture source, eliminate active mold colonies, treat with chlorine dioxide gas to neutralize mycotoxins, and decontaminate the HVAC system — all in a single mobile service. We come to you.
The Bottom Line
The air you breathe inside your vehicle has a real impact on how you feel, how clearly you think, and how healthy you stay over time. Most of the items in this guide are straightforward habits — replacing filters, controlling moisture, ventilating deliberately, and cleaning consistently. Together they form a meaningful defense against the everyday pollutants that accumulate in any vehicle.
But mold is the exception. Once mold establishes itself in a vehicle — in carpet padding, seat foam, or an HVAC system — no maintenance habit or off-the-shelf product eliminates it. That requires professional remediation aligned to the ANSI/IICRC S520 professional standard, performed by specialists who understand the biology of what they are dealing with. That is what Car Mold Guys exists to provide.
DEALING WITH A MOLD OR ODOR PROBLEM THAT WON'T GO AWAY?
Car Mold Guys provides complete professional vehicle mold remediation throughout Georgia, the Atlanta metro area, and the surrounding Southeast region. We identify the source, eliminate the mold, neutralize the mycotoxins, and decontaminate the HVAC — all in one mobile service, at your location.
Schedule a Mobile Assessment


