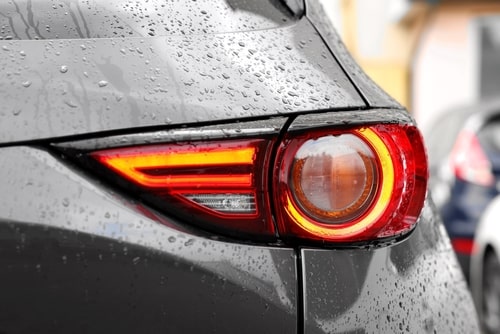
How to Detect and Fix Car Tail Light Leaks
Car tail light leaks may seem like a minor issue, but they can lead to significant problems if left unresolved. From moisture buildup that damages electrical components to the development of rust, a leaky tail light can compromise both the functionality and aesthetics of your vehicle. In this article, we’ll guide you through identifying and fixing tail light leaks, as well as preventative measures to avoid them in the future.
Signs of a Leaky Tail Light
-
Moisture Inside the Tail Light: Fogging, condensation, or visible water droplets inside the tail light housing.
-
Electrical Issues: Dimming, flickering, or malfunctioning lights can result from water damage to the bulbs or wiring.
-
Rust or Corrosion: Evidence of rust around the tail light or on nearby body panels often indicates a leak.
-
Loose Tail Light Assembly: A tail light that feels loose may not be properly sealed, allowing water to seep in.
Common Causes of Tail Light Leaks
-
Aging Seals: Over time, the rubber or foam seals around the tail light housing can degrade, leading to leaks.
-
Cracks in the Housing: Impact damage or prolonged exposure to the elements can cause cracks in the tail light lens or assembly.
-
Improper Installation: Faulty installation of the tail light or aftermarket replacements can leave gaps for water to enter.
-
Worn Gaskets: The gasket that seals the tail light assembly to the car body may lose its effectiveness over time.
Steps to Fix a Leaky Tail Light
-
Inspect the Tail Light Assembly:
-
Remove the tail light from the vehicle by unscrewing the bolts or clips holding it in place.
-
Check the housing, lens, and seal for visible damage or wear.
-
-
Clean the Area:
-
Use a clean cloth to remove dirt, grime, and old sealant from the tail light and the car body.
-
-
Repair or Replace Damaged Components:
-
For small cracks, apply a clear silicone sealant to the damaged area.
-
Replace the tail light if the housing or lens is severely cracked.
-
-
Replace the Seal or Gasket:
-
If the seal or gasket is worn out, replace it with a new one designed for your vehicle model.
-
Apply a thin layer of weatherproof adhesive to ensure a tight seal.
-
-
Reinstall the Tail Light:
-
Carefully align the tail light assembly and secure it in place with bolts or clips.
-
Ensure the assembly sits flush against the car body to prevent gaps.
-
-
Test for Leaks:
-
Spray water over the tail light area and check for any signs of moisture inside the housing.
-
Preventative Measures
-
Regular Inspections: Periodically check your tail lights for signs of wear, damage, or moisture.
-
Use High-Quality Replacements: When replacing tail lights or seals, opt for OEM or high-quality aftermarket parts.
-
Avoid High-Pressure Washing: Directing high-pressure water at your tail lights can force water into the housing.
-
Protect from the Elements: Park in covered or shaded areas to reduce exposure to harsh weather conditions.
When to Seek Professional Assistance
If the leak persists despite your repair efforts or if the issue involves complex electrical damage, consult a professional mechanic or auto body specialist. They can provide a thorough inspection and more advanced solutions.
By addressing tail light leaks promptly, you can prevent further damage, maintain your car’s appearance, and ensure safety on the road.

